Showing posts with label laser engraver. Show all posts

Wednesday, 16 September 2026

How to Clean and Cure Resin 3D Prints: A Complete Guide

Introduction

Resin 3D printing delivers stunning detail and precision, but success depends entirely on proper post-processing. You cannot achieve professional results without mastering the crucial steps of cleaning and curing resin prints. This guide walks you through every stage of the process, from removing uncured resin to achieving optimal hardness and durability. Whether you’re using Phrozen, Bambu Lab, or Anycubic printers, these techniques apply universally. By following this comprehensive roadmap, you’ll transform raw prints into finished masterpieces.

Why Cleaning and Curing Matters for Resin 3D Prints

Post-processing determines the final quality of your resin 3D prints. Uncured resin remains sticky and fragile, absorbing moisture and losing dimensional accuracy over time. Proper cleaning removes excess liquid resin, while UV curing hardens the material into a durable finished product.

You need to address two critical goals here: first, eliminate all uncured resin residue; second, expose the print to controlled UV light. Both steps directly impact strength, appearance, and longevity. Skipping either one results in weak, discolored prints that deteriorate quickly.

The process requires minimal investment but demands attention to detail. Most users complete their first cleaning and curing cycles within 30 minutes once they understand the fundamentals.

What You’ll Need: Essential Tools and Materials

Before you begin, gather the right supplies. Preparation prevents mistakes and ensures consistent results across all your projects.

Cleaning Supplies

  • Isopropyl alcohol (IPA) -90% concentration minimum for optimal results
  • Wash container -Dedicated plastic bucket or container (never use food-grade containers)
  • Soft brushes -Old toothbrushes or specialized resin brushes work well
  • Microfiber cloths -Lint-free materials prevent residue buildup
  • Nitrile gloves - Protect your skin from uncured resin exposure
  • Safety glasses -Essential for eye protection during cleaning

Curing Supplies

  • UV curing chamber -Purpose-built machines deliver consistent results
  • Alternative UV sources -LED flashlights or UV lamps work in a pinch
  • Rotating platform -Enables even light exposure across all surfaces
  • Timer -Prevents over-curing or under-curing mistakes

Step-by-Step: How to Clean Resin 3D Prints

Step 1: Remove Excess Resin

Start immediately after printing. Place your wet print over the resin vat to catch dripping liquid. Allow excess resin to drain back into the tank for 30–60 seconds. This simple action recovers resin and prevents unnecessary waste.

Step 2: First Rinse with Isopropyl Alcohol

Submerge your print in a container of fresh isopropyl alcohol. Agitate gently for 2–3 minutes, allowing the liquid to penetrate crevices and detail areas. You’ll observe the alcohol turning cloudy as it dissolves uncured resin particles.

Step 3: Scrub Detailed Areas

Use soft brushes to access fine details, tiny gaps, and textured surfaces. Resin accumulates in these hard-to-reach spots, so gentle but thorough scrubbing ensures complete removal. Pay special attention to undercuts and recessed features where liquid pools.

Step 4: Second Rinse

Transfer your print to a fresh batch of isopropyl alcohol. This secondary rinse eliminates remaining resin particles and loosens debris. Swirl the print around for another 1–2 minutes until the alcohol remains clear and colorless.

Step 5: Dry Thoroughly

Pat your print dry with microfiber cloths, removing all visible moisture. You can accelerate drying by setting prints on absorbent paper towels for 15–20 minutes. Complete dryness is essential before curing, as moisture interferes with UV absorption.

Pro Tip: Dispose of used isopropyl alcohol responsibly. Many facilities accept it as hazardous waste. Never pour it down drains.

Step-by-Step: How to Cure Resin 3D Prints

Step 1: Choose Your Curing Method

Select either a dedicated UV curing chamber or alternative UV light sources. Curing chambers provide superior results through controlled exposure and rotating platforms. However, UV lamps and LED flashlights offer budget-friendly alternatives for occasional users.

Step 2: Position Your Print

Place your cleaned, dry print on the curing chamber’s platform. Position it so light reaches all surfaces equally. If using a rotating platform, ensure it spins freely without obstruction.

Step 3: Set Appropriate Curing Time

Curing duration depends on resin type, print thickness, and light intensity. Standard guidelines suggest:

  • Thin prints: 5–8 minutes under chamber UV
  • Medium prints: 8–12 minutes
  • Thick prints: 12–15 minutes

Always consult your specific resin’s technical data sheet for manufacturer recommendations. Over-curing causes yellowing and brittleness, while under-curing leaves prints tacky and weak.

Step 4: Rotate for Even Exposure

If your curing chamber includes a rotating platform, allow it to turn continuously during the cure cycle. This ensures uniform UV exposure across all surfaces. Without rotation, you’ll observe uneven hardening and discoloration.

Step 5: Cool Before Handling

Allow prints to cool for 5–10 minutes after curing finishes. Fresh-cured resin remains warm and retains slight tackiness temporarily. Cooling stabilizes the material and allows you to handle prints safely.

Understanding Resin Types and Curing Times

Different resin formulations require different curing approaches. Standard epoxy resins cure faster than tough or flexible variants. Specialty resins for dental, jewelry, or engineering applications demand precise timing.

Standard Resins cure in 8–12 minutes under typical UV chambers. These versatile materials suit most applications and hobbyist use cases.

Tough Resins require 12–20 minutes due to thicker molecular chains. These materials deliver superior impact resistance and mechanical strength.

Flexible Resins need extended cure times (15–25 minutes) to activate their elastic properties properly. Under-curing flexible resin results in permanent stiffness.

Specialty Formulations like dental or high-temperature resins demand manufacturer-specific protocols. Never guess curing times for these materials  check documentation first.

Common Mistakes to Avoid

Resin printing newcomers frequently encounter preventable problems. Learning from others’ errors accelerates your mastery.

Incomplete Cleaning -Residual uncured resin ruins print quality. The extra 2–3 minutes spent on thorough cleaning prevents frustration later. Don’t rush this critical step.

Contaminated Alcohol -Reused isopropyl alcohol accumulates dissolved resin particles. Once your cleaning alcohol turns visibly brown or cloudy, replace it. Dirty alcohol deposits films on prints.

Skipping the Dry Step - Moisture prevents UV light from penetrating the print surface evenly. Always allow 15–20 minutes drying time before curing.

Inconsistent Curing Times -Batch processing multiple prints requires careful attention to timing. Use timers religiously to ensure consistent results across all parts.

Overcrowding the Curing Chamber -Stacking prints or overcrowding the chamber blocks UV light from reaching all surfaces. Cure prints individually or space them to maximize light penetration.

Ignoring Resin Data Sheets - Each formulation has unique requirements. Manufacturer recommendations beat guesswork every single time.

Post-Curing Best Practices

After your print completes the initial cure cycle, implement these maintenance strategies for optimal longevity.

Secondary Curing -Expose prints to sunlight for 24 hours following UV chamber curing. Natural sunlight accelerates the hardening process and improves final mechanical properties.

Storage Conditions -Keep finished prints in cool, dark spaces away from direct sunlight. UV exposure gradually degrades resin over time, so protect your finished work.

Finishing Options -Sand prints with fine-grit sandpaper (400–1000 grit) to eliminate layer lines and improve surface smoothness. Paint, dye, or coat prints once curing is complete.

Handle with Care -Even fully cured resin can fracture under stress. Freshly cured prints remain somewhat brittle for 48 hours. Give them time to fully stabilize before aggressive handling.

Resin Cleaning and Curing FAQ

Q1: Can I reuse isopropyl alcohol multiple times? Yes, you can extend alcohol’s lifespan by allowing dissolved resin to settle overnight, then filtering through a coffee filter into a fresh container. However, once the alcohol turns brown or builds up significant sediment, replacement becomes necessary. Most users find that complete replacement every 10–15 print cycles offers better results than attempted recycling.

Q2: What’s the difference between UV chambers and alternative light sources? UV curing chambers provide controlled wavelength exposure (typically 405–410nm), consistent intensity, and rotating platforms for uniform curing. Alternative sources like LED flashlights deliver uneven exposure, inconsistent results, and extended curing times. Chambers cost more upfront but deliver professional-quality results and reduce failed prints significantly. For hobby users, alternatives work acceptably; for production environments, chambers prove essential.

Q3: How do I know if my print is fully cured? Properly cured resin feels hard and non-sticky. Press your fingernail gently into the surface  if it leaves an indentation, curing was insufficient. Fully cured prints resist scratching and maintain dimensional stability over months. When in doubt, extend curing time by 2–3 minutes rather than risking weak prints.

Final Thoughts: Master Your Post-Processing

Cleaning and curing separate amateur results from professional output. These essential skills demand minimal investment but return maximum impact through improved print quality and consistency. You now understand every stage of the process, from removing uncured resin to achieving optimal hardness.

Take action today by gathering your supplies and practicing on test prints. Document your curing times and observations to build a reference guide tailored to your specific equipment. Within a few cycles, you’ll develop the intuition that transforms you into a confident resin printing expert.

Ready to upgrade your post-processing workflow? Browse professional-grade cleaning and curing equipment on 3idea.in today. Our curated selection includes UV chambers, resin cleaning kits, and all necessary consumables to support your journey from raw prints to finished masterpieces.


Tuesday, 25 August 2026

Laser Engraving for Corporate Gifts: The Ultimate Guide to Custom Branding

Laser engraving for corporate gifts transforms ordinary products into extraordinary brand ambassadors. As businesses search for meaningful ways to strengthen client relationships and reward employees, laser engraving offers a professional, long-lasting solution. In fact, studies show that 72% of consumers remember brands featured on promotional products.

Moreover, laser engraving delivers precision and versatility that traditional methods simply cannot match. Whether you need personalized leather portfolios, custom wooden plaques, or engraved metal awards, this technology produces pristine results every time. Furthermore, the process works on countless materials, from wood and acrylic to stainless steel and glass.

Consequently, companies worldwide adopt laser engraving to create distinctive corporate gifts that leave lasting impressions. In addition, this guide walks you through everything you need to know about using laser engraving for your corporate gifting strategy. Let's explore how this powerful technology can elevate your brand presence.

What is Laser Engraving and How Does It Work?

Laser engraving involves using focused laser beams to mark or etch designs onto surfaces. The laser removes material from the surface, creating permanent marks that resist fading and wear. Additionally, this technology operates with remarkable precision, allowing for intricate details and complex designs.

The Laser Engraving Process

The process begins when you upload a digital design into the laser system. Subsequently, the machine reads your design and directs the laser to trace your image precisely. The laser then burns or vaporizes the material surface, creating a distinct mark.

Unlike traditional printing, laser engraving offers several distinct advantages:

  • Permanence: The mark becomes part of the material itself
  • Precision: Creates designs with incredible detail and clarity
  • Speed: Completes projects quickly without additional setup
  • Versatility: Works on virtually any material surface

Why Businesses Choose Laser Engraving

Companies choose laser engraving because it delivers professional quality consistently. Moreover, the process produces no waste compared to other methods. Additionally, it requires minimal maintenance and offers exceptional value for high-volume orders.

Best Materials for Laser Engraving Corporate Gifts

Different materials produce varying results with laser engraving technology. Consequently, understanding material compatibility helps you select perfect products for your corporate gifting needs.

Wood Products

Wood represents the most popular choice for laser engraving projects. Furthermore, it produces beautiful contrast between engraved and natural surfaces. Hardwoods like oak and maple offer excellent durability for long-term use.

Ideal wood products include:

  • Wooden boxes and cases
  • Desk organizers
  • Picture frames
  • Awards and plaques

Metal Materials

Metal laser engraving creates sophisticated, professional results perfect for corporate environments. Besides, metal items develop a refined appearance when engraved. Stainless steel, aluminum, and brass all respond beautifully to laser treatment.

Popular metal gift options feature:

  • Stainless steel money clips
  • Aluminum business card holders
  • Brass desk nameplates
  • Metal keychains

Acrylic and Glass

Acrylic and glass products produce stunning visual effects when engraved. Specifically, the laser creates a frosted appearance that catches light beautifully. In addition, these materials work well for awards, desk accessories, and decorative items.

Advantages of Custom Laser Engraved Corporate Gifts

Strengthen Brand Recognition

Personalized gifts dramatically increase brand recall among recipients. In particular, employees and clients think of your company every time they use an engraved item. Moreover, this consistent brand exposure builds long-term customer loyalty and retention.

Cost-Effective Personalization

Laser engraving allows batch personalization without significant cost increases. Furthermore, each item receives individual customization without expensive setup fees. Consequently, businesses can create unique gifts for every recipient affordably.

Professional Quality and Appearance

Engraved gifts convey premium quality and attention to detail. Additionally, the process produces crisp, clean results that reflect positively on your company. As a result, recipients perceive these gifts as more valuable and thoughtful.

Unlimited Design Possibilities

The technology accommodates complex logos, detailed artwork, and intricate patterns. Besides, you can combine text and imagery seamlessly. In addition, this flexibility enables truly unique gifts that showcase your company's personality.

Choosing the Right Products for Your Corporate Gifting Strategy

Consider Your Budget

First, determine your budget per gift, then select appropriate items. Subsequently, evaluate options that balance quality with cost-effectiveness. Moreover, bulk orders typically reduce per-unit expenses significantly.

Think About Utility and Longevity

Select products that recipients will actually use regularly. Specifically, practical gifts like pens, leather folders, and desk accessories offer ongoing brand exposure. Furthermore, durable items demonstrate your commitment to quality.

Match Your Brand Identity

Choose products that align with your company culture and values. Additionally, the material and style should reflect your brand's personality. Consequently, thoughtful product selection reinforces your brand messaging consistently.

Popular Corporate Gift Ideas Using Laser Engraving

Laser engraving transforms these items into memorable branded gifts:

For Employees:

  • Personalized leather portfolios with names or initials
  • Custom wooden desk organizers with company logos
  • Engraved stainless steel water bottles for wellness initiatives
  • Monogrammed desk nameplate in elegant metal or wood

For Clients and Partners:

  • Premium wooden award plaques recognizing achievements
  • Customized acrylic awards for business milestones
  • Engraved leather business card holders
  • Personalized metal desk accessories

For Events and Conferences:

  • Custom badges and lanyards with attendee names
  • Engraved pens with event logos and dates
  • Personalized wooden gift boxes for conference attendees
  • Custom metal keychains as event souvenirs

How to Order Custom Laser Engraved Corporate Gifts

Step One: Design Your Concept

Begin by creating or selecting your design. Subsequently, consider your company logo, colors, and any personalization details. Additionally, ensure your artwork meets file requirements for the laser system.

Step Two: Choose Your Quantity and Products

Decide how many items you need and select the base products. Moreover, request samples to evaluate quality before committing to large orders. In addition, confirm pricing and delivery timelines with your supplier.

Step Three: Provide Specifications

Supply all specifications including design files, personalization text, and material preferences. Furthermore, clarify placement and sizing requirements for your engraving. Consequently, clear communication prevents mistakes and ensures perfect results.

Step Four: Review and Approve

Ask to review mockups or samples before production begins. Additionally, this step allows you to make adjustments if needed. Finally, approve the final design and proceed with production.

Cost Considerations for Corporate Laser Engraving

Several factors influence pricing for laser-engraved corporate gifts.

Material Costs: Premium materials cost more than standard options. However, they create better impressions and last longer.

Design Complexity: Simple designs cost less than intricate, multi-color artwork. Nevertheless, the investment pays dividends in brand perception.

Order Volume: Larger orders typically feature lower per-unit costs. Additionally, bulk pricing makes corporate gifting more budget-friendly.

Turnaround Time: Rush orders may incur additional fees. Generally, planning ahead allows for standard pricing and better selection.

Sustainability and Environmental Benefits

Laser engraving offers significant environmental advantages compared to alternatives. Specifically, the process produces minimal waste since it doesn't require printing supplies or packaging materials. Furthermore, many materials used for laser engraving are recyclable or biodegradable.

Moreover, selecting sustainable materials amplifies your environmental commitment. For instance, bamboo and reclaimed wood options appeal to eco-conscious recipients. In addition, this aligns your corporate gifting with modern sustainability values.


Conclusion

Laser engraving for corporate gifts provides an elegant, professional solution for brand building and relationship strengthening. Furthermore, this versatile technology works on countless materials, creating memorable gifts that recipients treasure. Additionally, the process delivers exceptional quality consistently while remaining cost-effective for bulk orders.

Whether rewarding employees, thanking clients, or creating event souvenirs, laser-engraved products leave lasting impressions. Moreover, the personalization demonstrates genuine care and attention to detail. Finally, investing in quality corporate gifts strengthens your brand while building loyalty.

Ready to elevate your corporate gifting strategy? Connect with a laser engraving specialist today and start creating memorable branded products that reflect your company's excellence.


FAQs About Laser Engraving for Corporate Gifts

Q1: How long does laser engraving last?

A: Laser engraving is permanent because the mark becomes part of the material itself. Consequently, it resists fading, scratching, and wear throughout the product's lifetime. Unlike printed designs that fade over time, engraved items maintain their appearance indefinitely, making them ideal for long-term corporate brand representation.

Q2: Can you laser engrave on all materials?

A: Most common materials work beautifully with laser engraving, including wood, acrylic, glass, leather, and metals. However, some materials like PVC and certain plastics may release harmful fumes. Therefore, always confirm material compatibility with your engraving provider before ordering to ensure safety and quality results.

Q3: What's the minimum order quantity for laser engraving?

A: Minimum order quantities vary by supplier and product type. Typically, simple items may have minimums of 10-25 pieces, while complex designs might require 50+ pieces. Furthermore, larger orders usually qualify for better per-unit pricing, making bulk gifting more cost-effective for corporate programs.


Wednesday, 19 August 2026

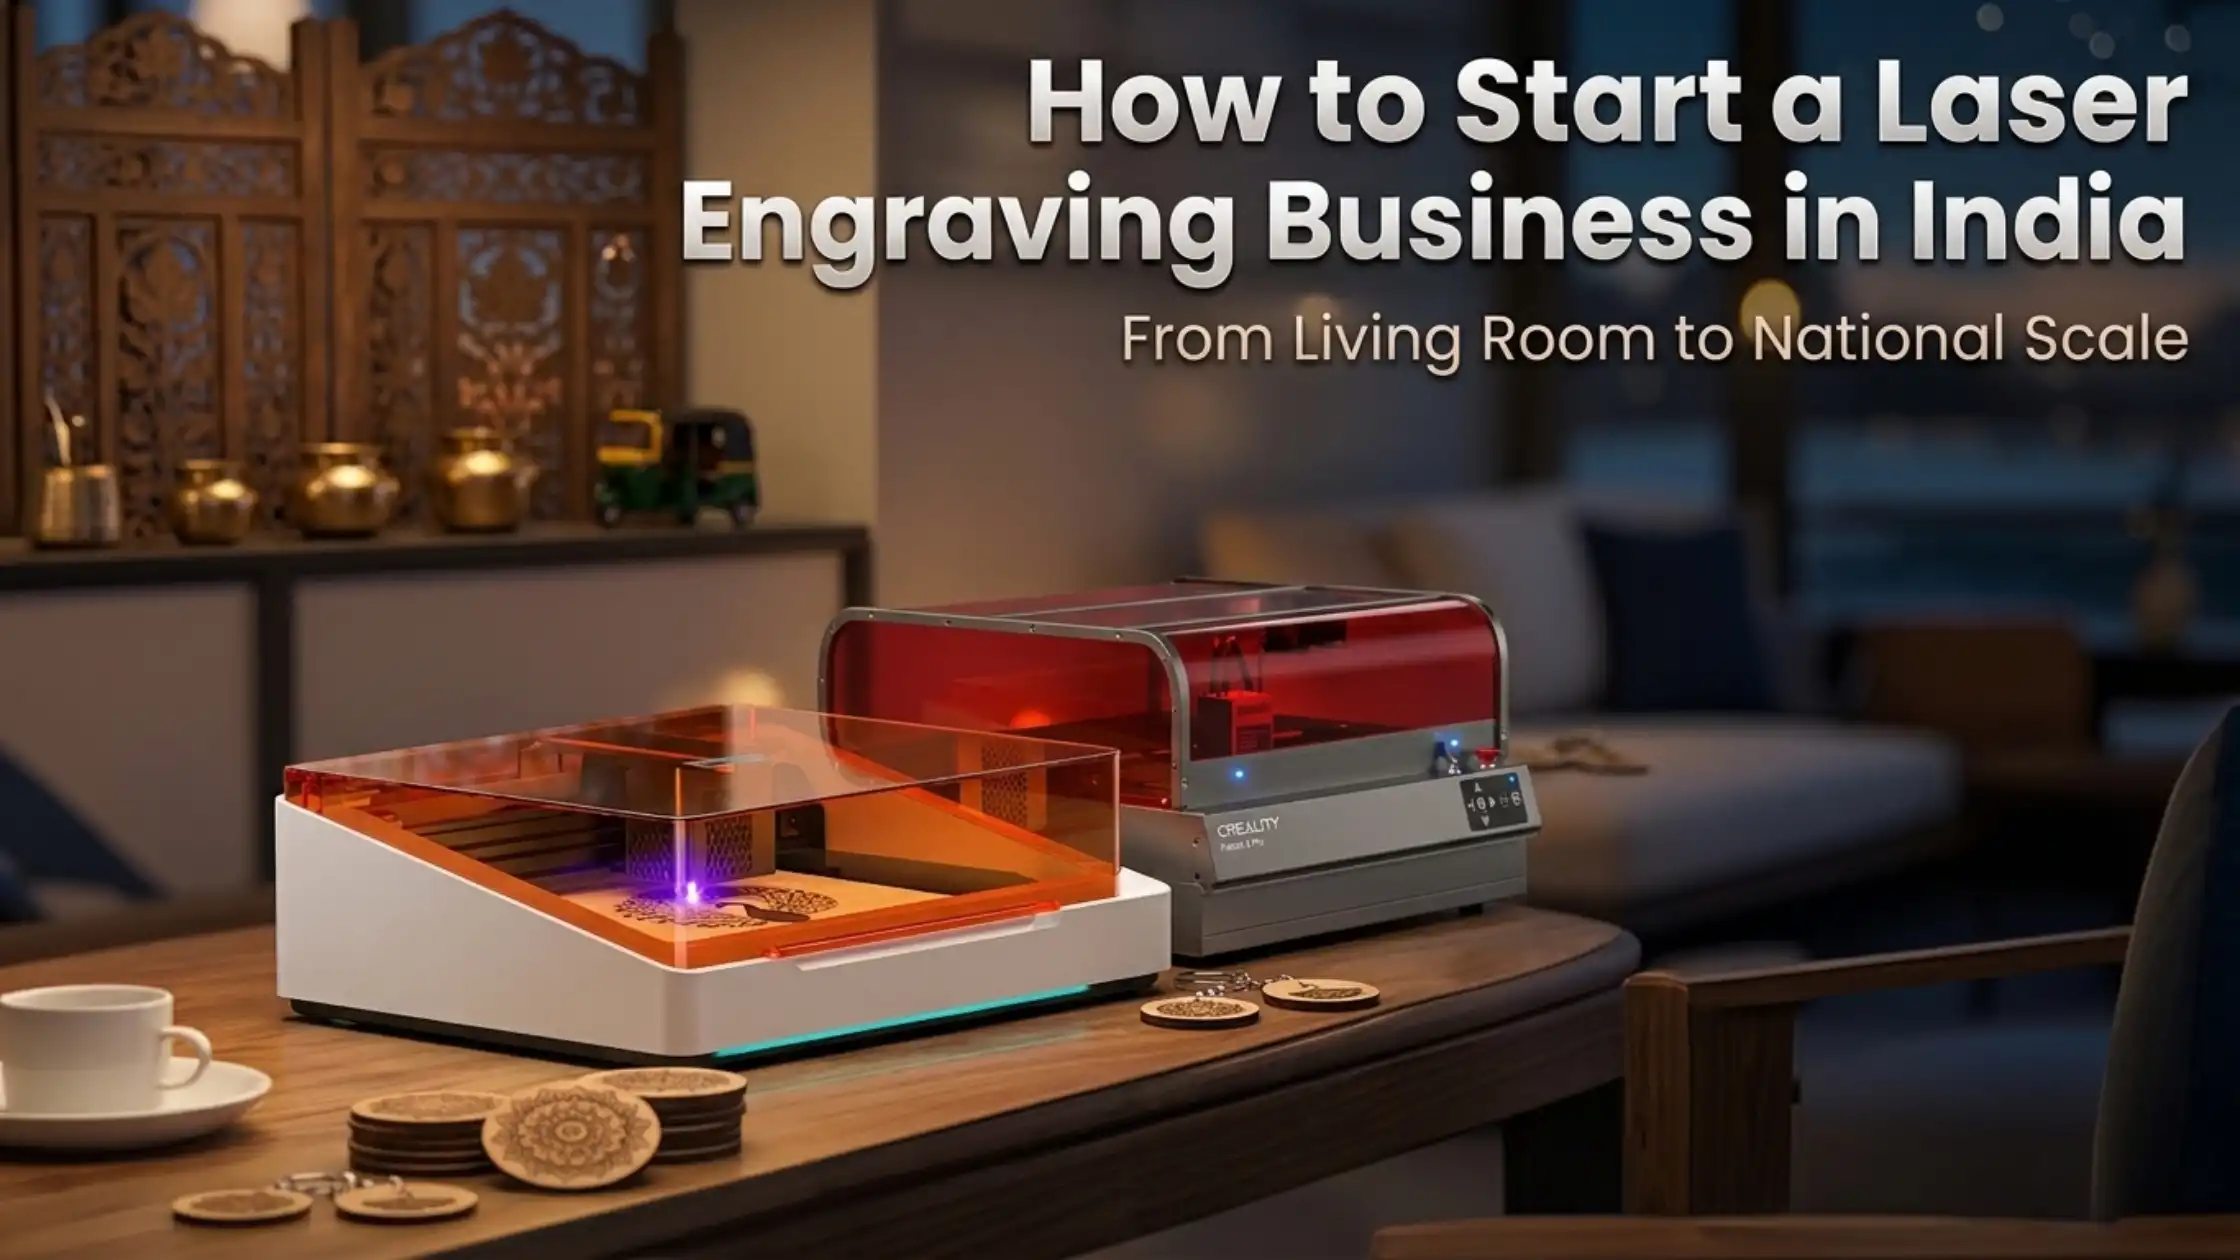
How to Start a Laser Engraving Business in India


How to Start a Laser Engraving Business in India

Personalisation is no longer a niche, it is one of the fastest-growing consumer categories in India. Custom wedding favours, corporate branding gifts, anniversary keepsakes, retail merchandise, industrial part marking: every one of these is a profitable use case for a single, well-chosen laser engraver. That is why the laser engraving business in India has quietly become one of the most accessible entrepreneurial opportunities of the decade.

This guide walks through the complete roadmap to start your own engraving business — from machine selection and budgeting to marketing and scaling.

Why Start a Laser Engraving Business in India?

Three forces are driving the opportunity:

  • Rising demand for personalised products across weddings, corporate gifting, and retail

  • Low capital entry:-  a serious starter machine costs less than ?1.5 lakh

  • High margins:- customisation supports 40–70% gross margins consistently

A laser engraving business is also one of the most flexible setups available. You can start from home with a single diode or compact CO2 machine, take small orders, build a portfolio, and scale into a dedicated workshop only when demand justifies it.

Step 1: Understand the Business Model

A laser engraver focuses UV, infrared, or CO2 light onto a material surface to etch or cut designs with precision. Most consumer-facing engraving businesses focus on three material categories:

  • Wood, acrylic, leather, paper (CO2 lasers)

  • Stainless steel, aluminium, brass, anodised metals (fibre lasers)

  • Light-duty wood and dark plastics (diode lasers)

The first commercial decision is choosing your material focus, because it directly determines the machine you buy.

Step 2: Market Research and Niche Selection

Before investing in a machine, define your niche. The most consistently profitable categories for new entrants:

  • Personalised gifts -name plates, photo frames, keepsakes

  • Wedding & event customisation -favours, signage, invitations

  • Corporate gifting -branded items, awards, executive accessories

  • Industrial part marking -small-batch B2B work with fibre lasers

  • Custom jewellery and watch engraving

Study local demand -wedding markets vary city to city, and corporate gifting is heavily seasonal. E-commerce platforms like Etsy, Amazon Custom, and Instagram expand your addressable market well beyond your local catchment.

Step 3: Investment and Cost Planning

Realistic starting investment in India:

  • Hobbyist start (diode): ?30,000 – ?80,000 for the machine, ?15,000 for accessories and starting inventory

  • Serious start (entry CO2): ?1,00,000 – ?2,50,000 for machine, ventilation, and inventory

  • Industrial / fibre laser start: ?4,00,000 – ?10,00,000

Beyond the machine, budget for:

  • Materials (wood blanks, acrylic sheets, leather, ready-to-engrave gift items)

  • Software (LightBurn is the industry standard -one-time licence, around ?4,000)

  • Ventilation and safety (extractor, fire extinguisher, laser goggles)

  • Marketing (initial website, social media imagery, sample products)

Explore current laser engraver pricing on 3idea: https://www.3idea.in/category/laser-engraver 

A common rookie mistake: spending the entire budget on the machine and skipping safety, ventilation, or software. Allocate at least 25% of the total budget to those.

Step 4: Choosing the Right Laser Engraving Machine

Match the machine to your niche:

  • Wood, acrylic, leather: CO2 laser. Creality Falcon2 (available on 3idea) is one of the most popular choices for new businesses.

  • Metal engraving and industrial marking: fibre laser.

  • Hobby start with low capital: diode laser like the Creality Falcon series at lower wattages.

  • Multi-process workshop: Snapmaker modular systems combining 3D printing, laser engraving, and CNC.

Choose a machine with strong India service support -spare-part availability matters more than the cheapest sticker price.

Step 5: Workspace Setup

A good workspace is safe, organised, and well-ventilated.

  • A separate room or dedicated corner with adequate floor space

  • Stable, single-phase or three-phase power as the machine requires

  • External exhaust or a fume-extraction unit (mandatory for CO2)

  • Fire-safe storage for solvents and acrylic

  • Adequate lighting for finishing and quality control

For a home-based engraving business, a balcony or garage with proper ventilation works well. Make sure neighbours and your apartment complex are comfortable with the setup.

Step 6: Legal Requirements in India

Basic legal compliance for a new engraving business:

  • Register as a sole proprietorship, partnership, or LLP depending on scale

  • MSME (Udyam) registration -free, online, and unlocks government schemes

  • GST registration if turnover crosses ?20 lakh (services) or ?40 lakh (goods)

  • Trade licence from local municipal authority for commercial premises

  • Current account for business transactions

  • Shop & Establishment registration if operating from a fixed premise

None of these are difficult. Most can be completed online or with a CA in under two weeks.

Step 7: Learning and Skill Development

Two skill tracks matter:

  • Design software -LightBurn for laser-specific work; CorelDRAW or Adobe Illustrator for vector design

  • Material knowledge -different woods, acrylics, and leathers need different power and speed settings. Build a settings library as you go.

The first month should be spent practising -engraving on every material you plan to offer, recording optimal settings, and building a portfolio of sample work for marketing. This investment pays back many times over.

Step 8: Pricing and Profit Strategy

Most beginners underprice. A simple pricing formula:

Sale price = (material cost × 3) + (machine time × hourly rate) + design fee

A typical hourly rate for laser engraving in India sits at ?500–?1,500 depending on city and machine wattage. Gross margins of 40–70% are realistic -far higher than most retail businesses.

For bulk and corporate orders, drop the per-unit price slightly but keep margins healthy on volume. Repeat corporate clients are the foundation of a stable engraving business.

Step 9: Marketing Your Business

Three channels deliver the highest return for engraving businesses:

  • Instagram and Pinterest -visual platforms ideal for showcasing custom work. Consistent posting plus reels of the engraving process performs very well.

  • Local partnerships -wedding planners, event managers, corporate gifting houses, and gift shops can deliver recurring orders.

  • Marketplaces -Etsy, Amazon Custom, and India-specific platforms expand your reach beyond your city.

The fastest growth comes from a strong portfolio combined with reliable delivery and consistent quality. Build the reputation first; scale the marketing second.

Step 10: Scaling Your Business

As orders grow, three scaling moves typically follow:

  • Add machines -a second engraver doubles throughput without adding floor space significantly

  • Move from home to commercial premises -usually around ?3–5 lakh monthly revenue

  • Hire -first hire is usually an operator/finisher, freeing you for design and sales

Reinvest profits, automate workflows where you can, and resist the temptation to chase every new niche. Specialisation drives margin.

Challenges and How to Overcome Them

Common challenges in the first year:

  • Machine maintenance. Stock common spares (lens, belts, laser modules) and learn basic repair from day one.

  • Inconsistent quality. Build a settings library and version-control your design files.

  • Seasonal demand. Wedding and festival peaks alternate with quiet months -keep cash flow disciplined.

  • Competition. Differentiate on quality, design originality, and delivery reliability -not on price alone.

None of these are deal-breakers. They are simply the normal mechanics of running any production business.

Conclusion

A laser engraving business is one of the most accessible, profitable, and scalable opportunities for Indian entrepreneurs in 2026. With the right machine, a clear niche, basic legal setup, and disciplined marketing, you can build a sustainable business from a single room -and grow it into a full workshop within a few years.

Explore laser engravers and start-up bundles on 3idea Technology: https://www.3idea.in/category/laser-engraver 

The market is growing, the entry cost is low, and the margins are real. Now is the right time to start.